Snowflake Cookies
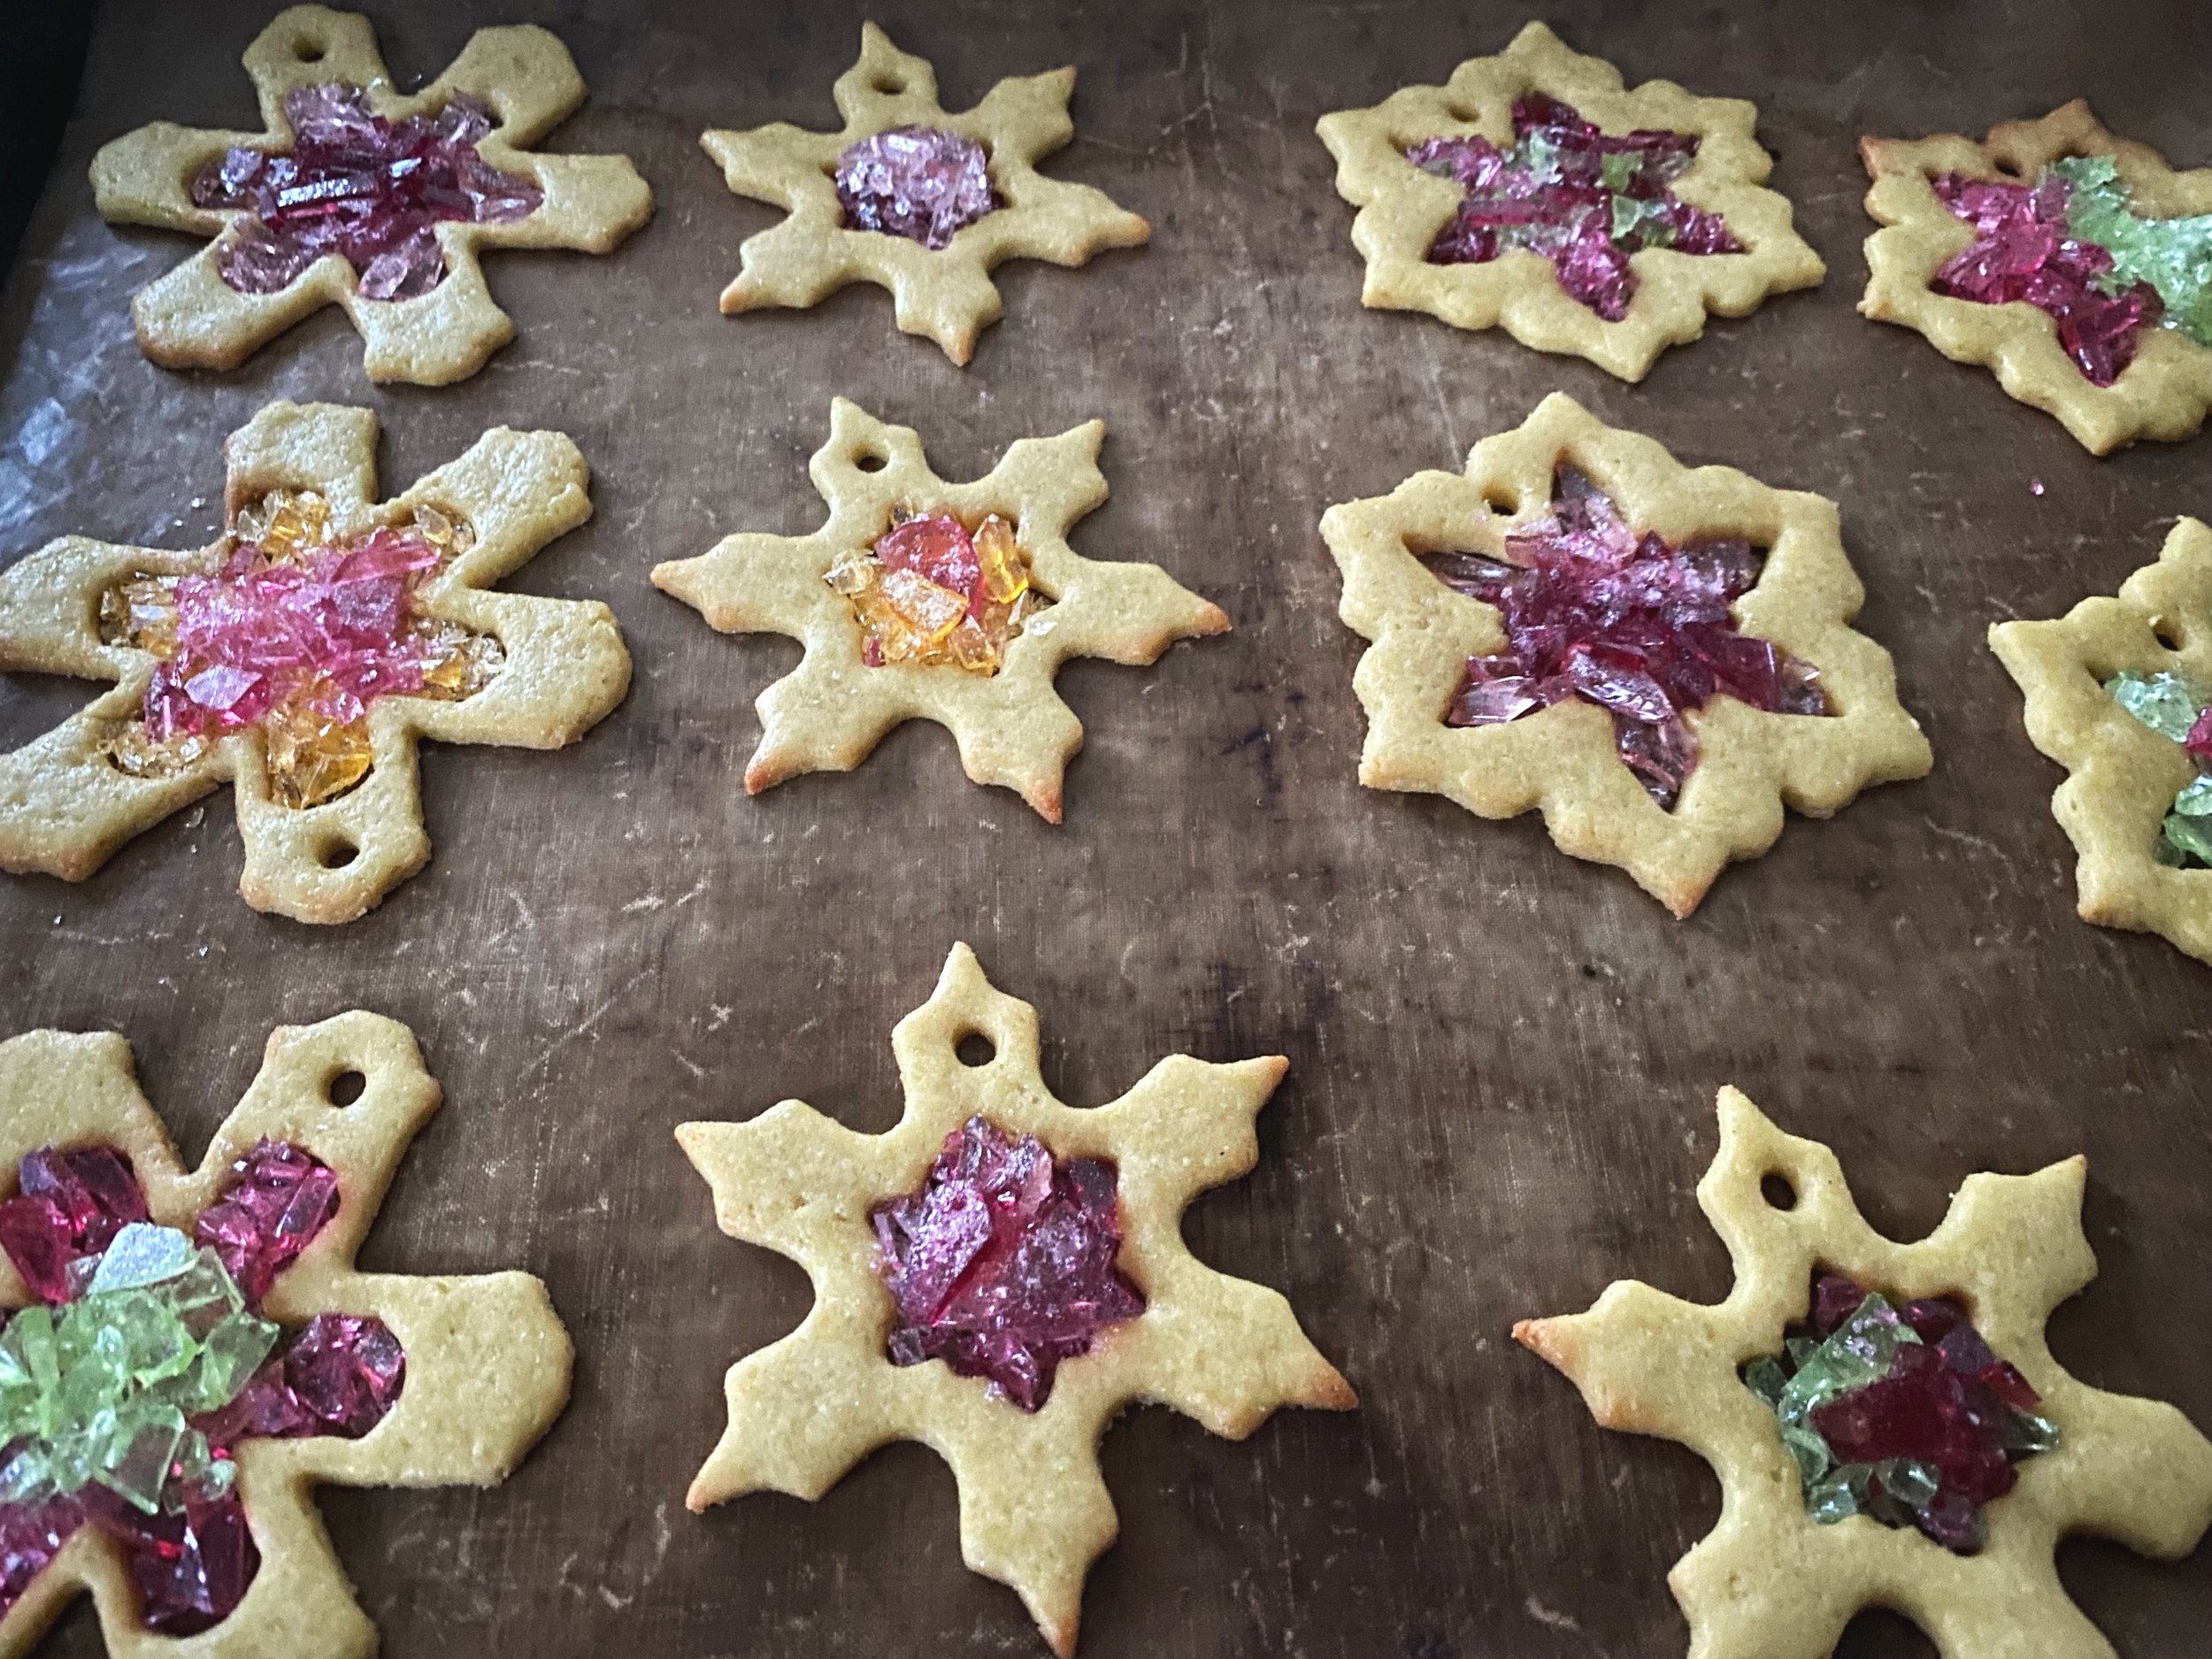
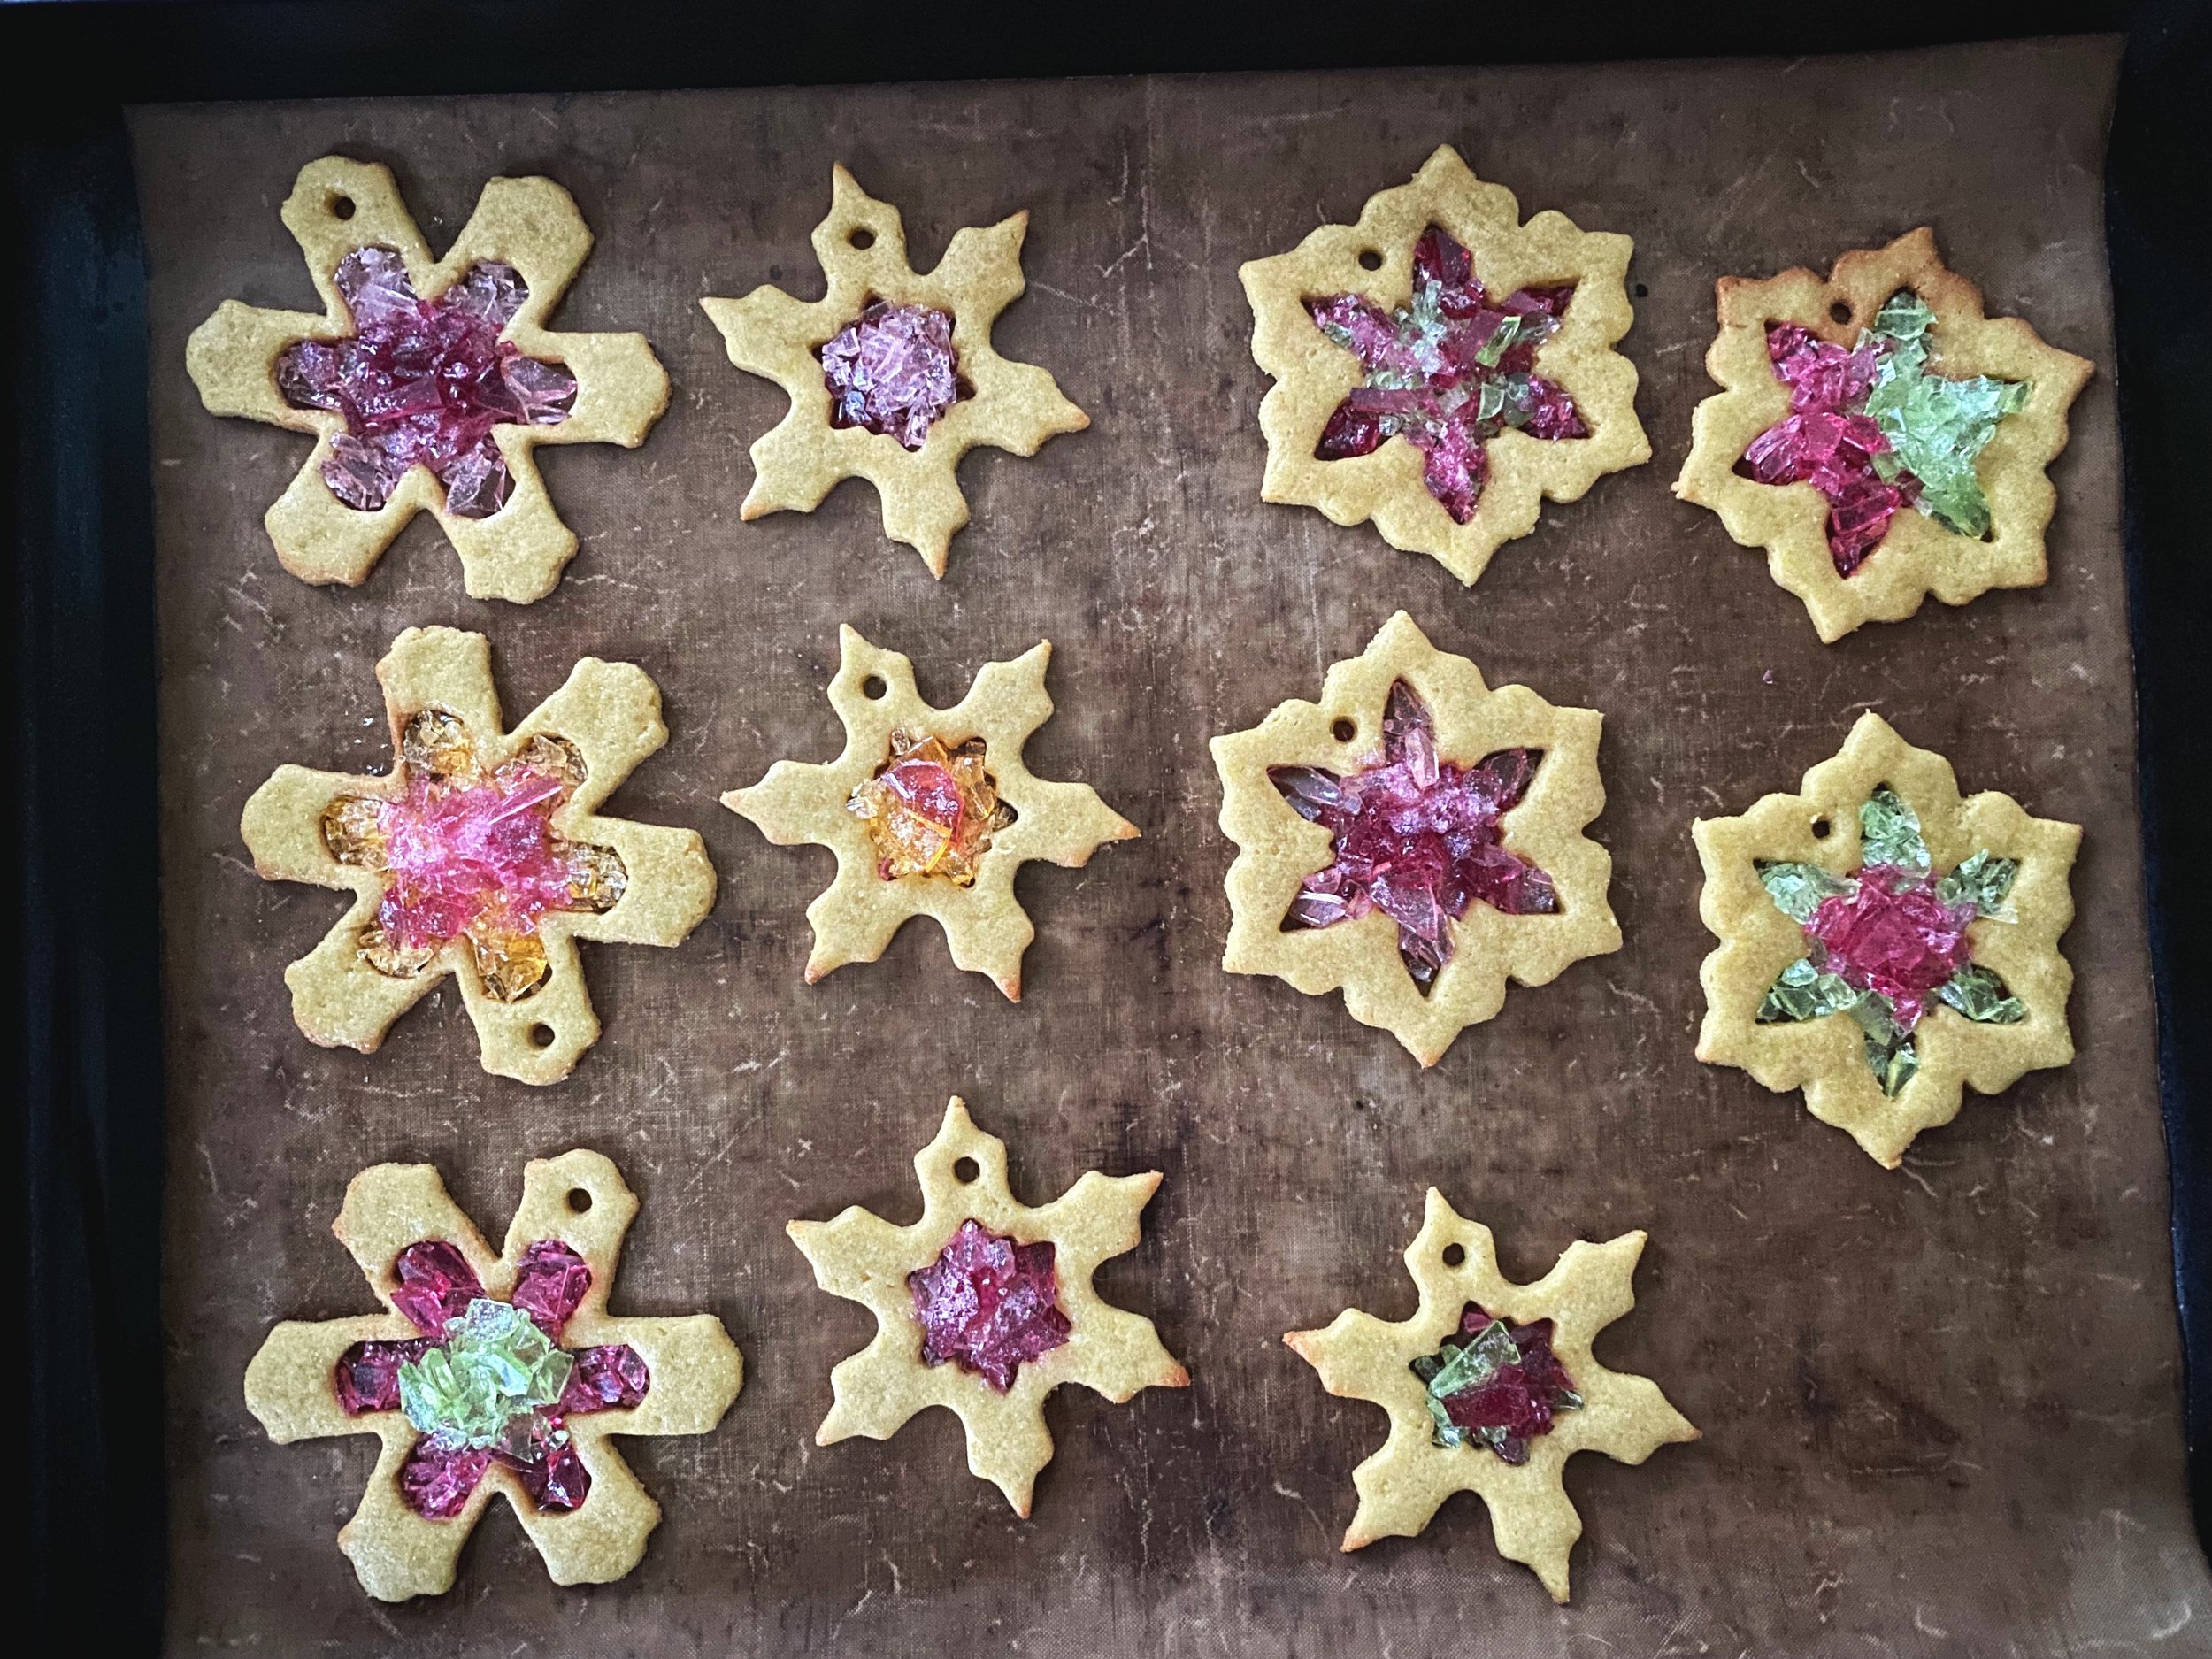
“These vegan gluten free cookies are simple to make but take a little time. They are the perfect project for a crafter or for a family. They look adorable as a Christmas tree decoration or hanging on a window.”


Prep time - 40 minutes
Cook time - 14 minutes
Difficulty - Medium
Serves / makes - around 30
Ingredients
100g rice flour (or plain gluten flour)*
150g gram flour (or plain gluten flour)*
80g caster sugar
5T sunflower oil
5T plant milk
1/2t vanilla extract (or ground cinnamon, ginger or other Christmas spices)
1 pack (200g) Fox’s Glacier Fruits or other vegan hard candy/boiled sweets
Equipment
Mixing bowl
Baking trays
Baking paper
Rolling pin
Large and small snowflake cookie cutters
Reusable straw
Wooden cocktail stick
Reusable freezer bag
5 small bowls
Small spoon
Method
Heat your oven to 170c/340f/GM3.
Put the flours and sugar in a bowl and mix well. Add the oil, milk and vanilla essence. Mix in well, kneading the dough a few times until it all comes together.
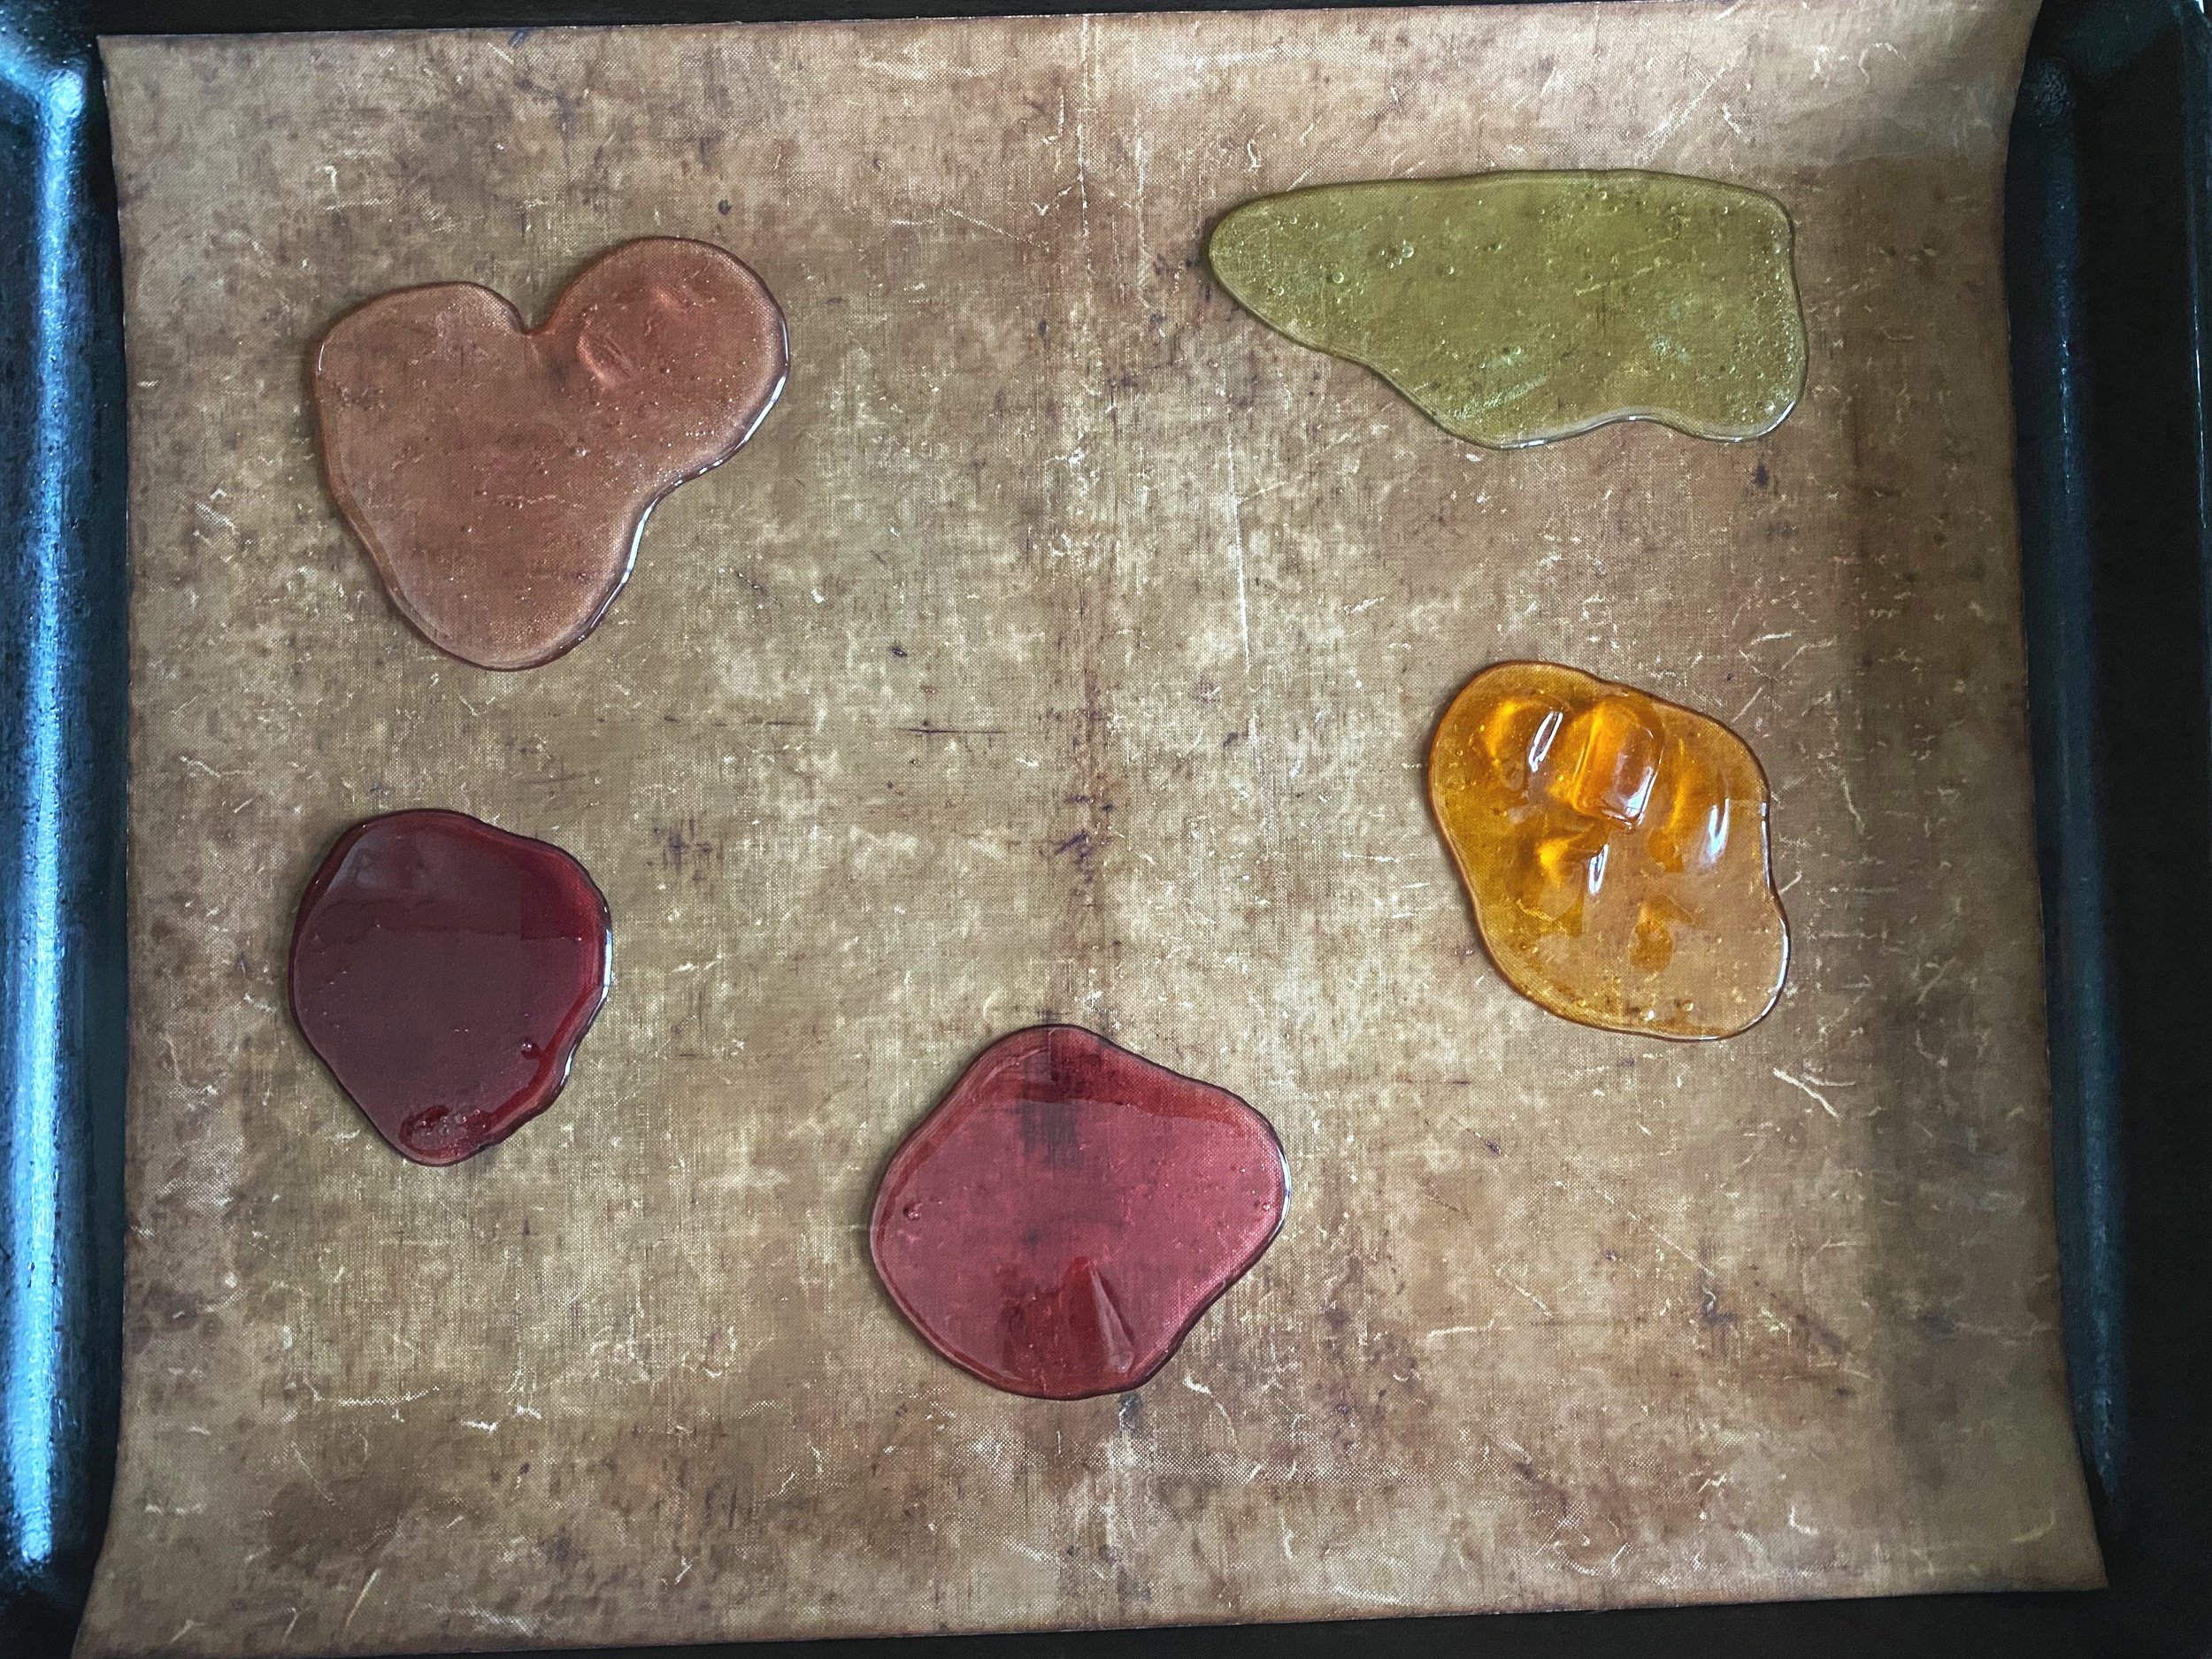
Once the oven is warm put the sweets on baking paper on a baking tray, grouped by colour (the orange sweets all together etc). Put them into the oven for around 6 minutes until they have melted (see picture below). Allow them to cool.
Put the dough between two sheets of baking paper. Use a rolling pin to roll the dough to around 3mm thick. Stamp large snowflake shapes using the large cookie cutters. Place them on baking paper on a baking tray. Then use the smaller cookie cutters to stamp the inside shape, remove the dough from the centre. Use a reusable straw to make the small holes in the dough, using a cocktail stick to remove the dough.
Continue doing this with all of the dough, use any leftover dough to reform into a ball and roll out. There is enough dough to make three trays of cookies. If you do not have three trays you can work in batches doing one tray at a time.
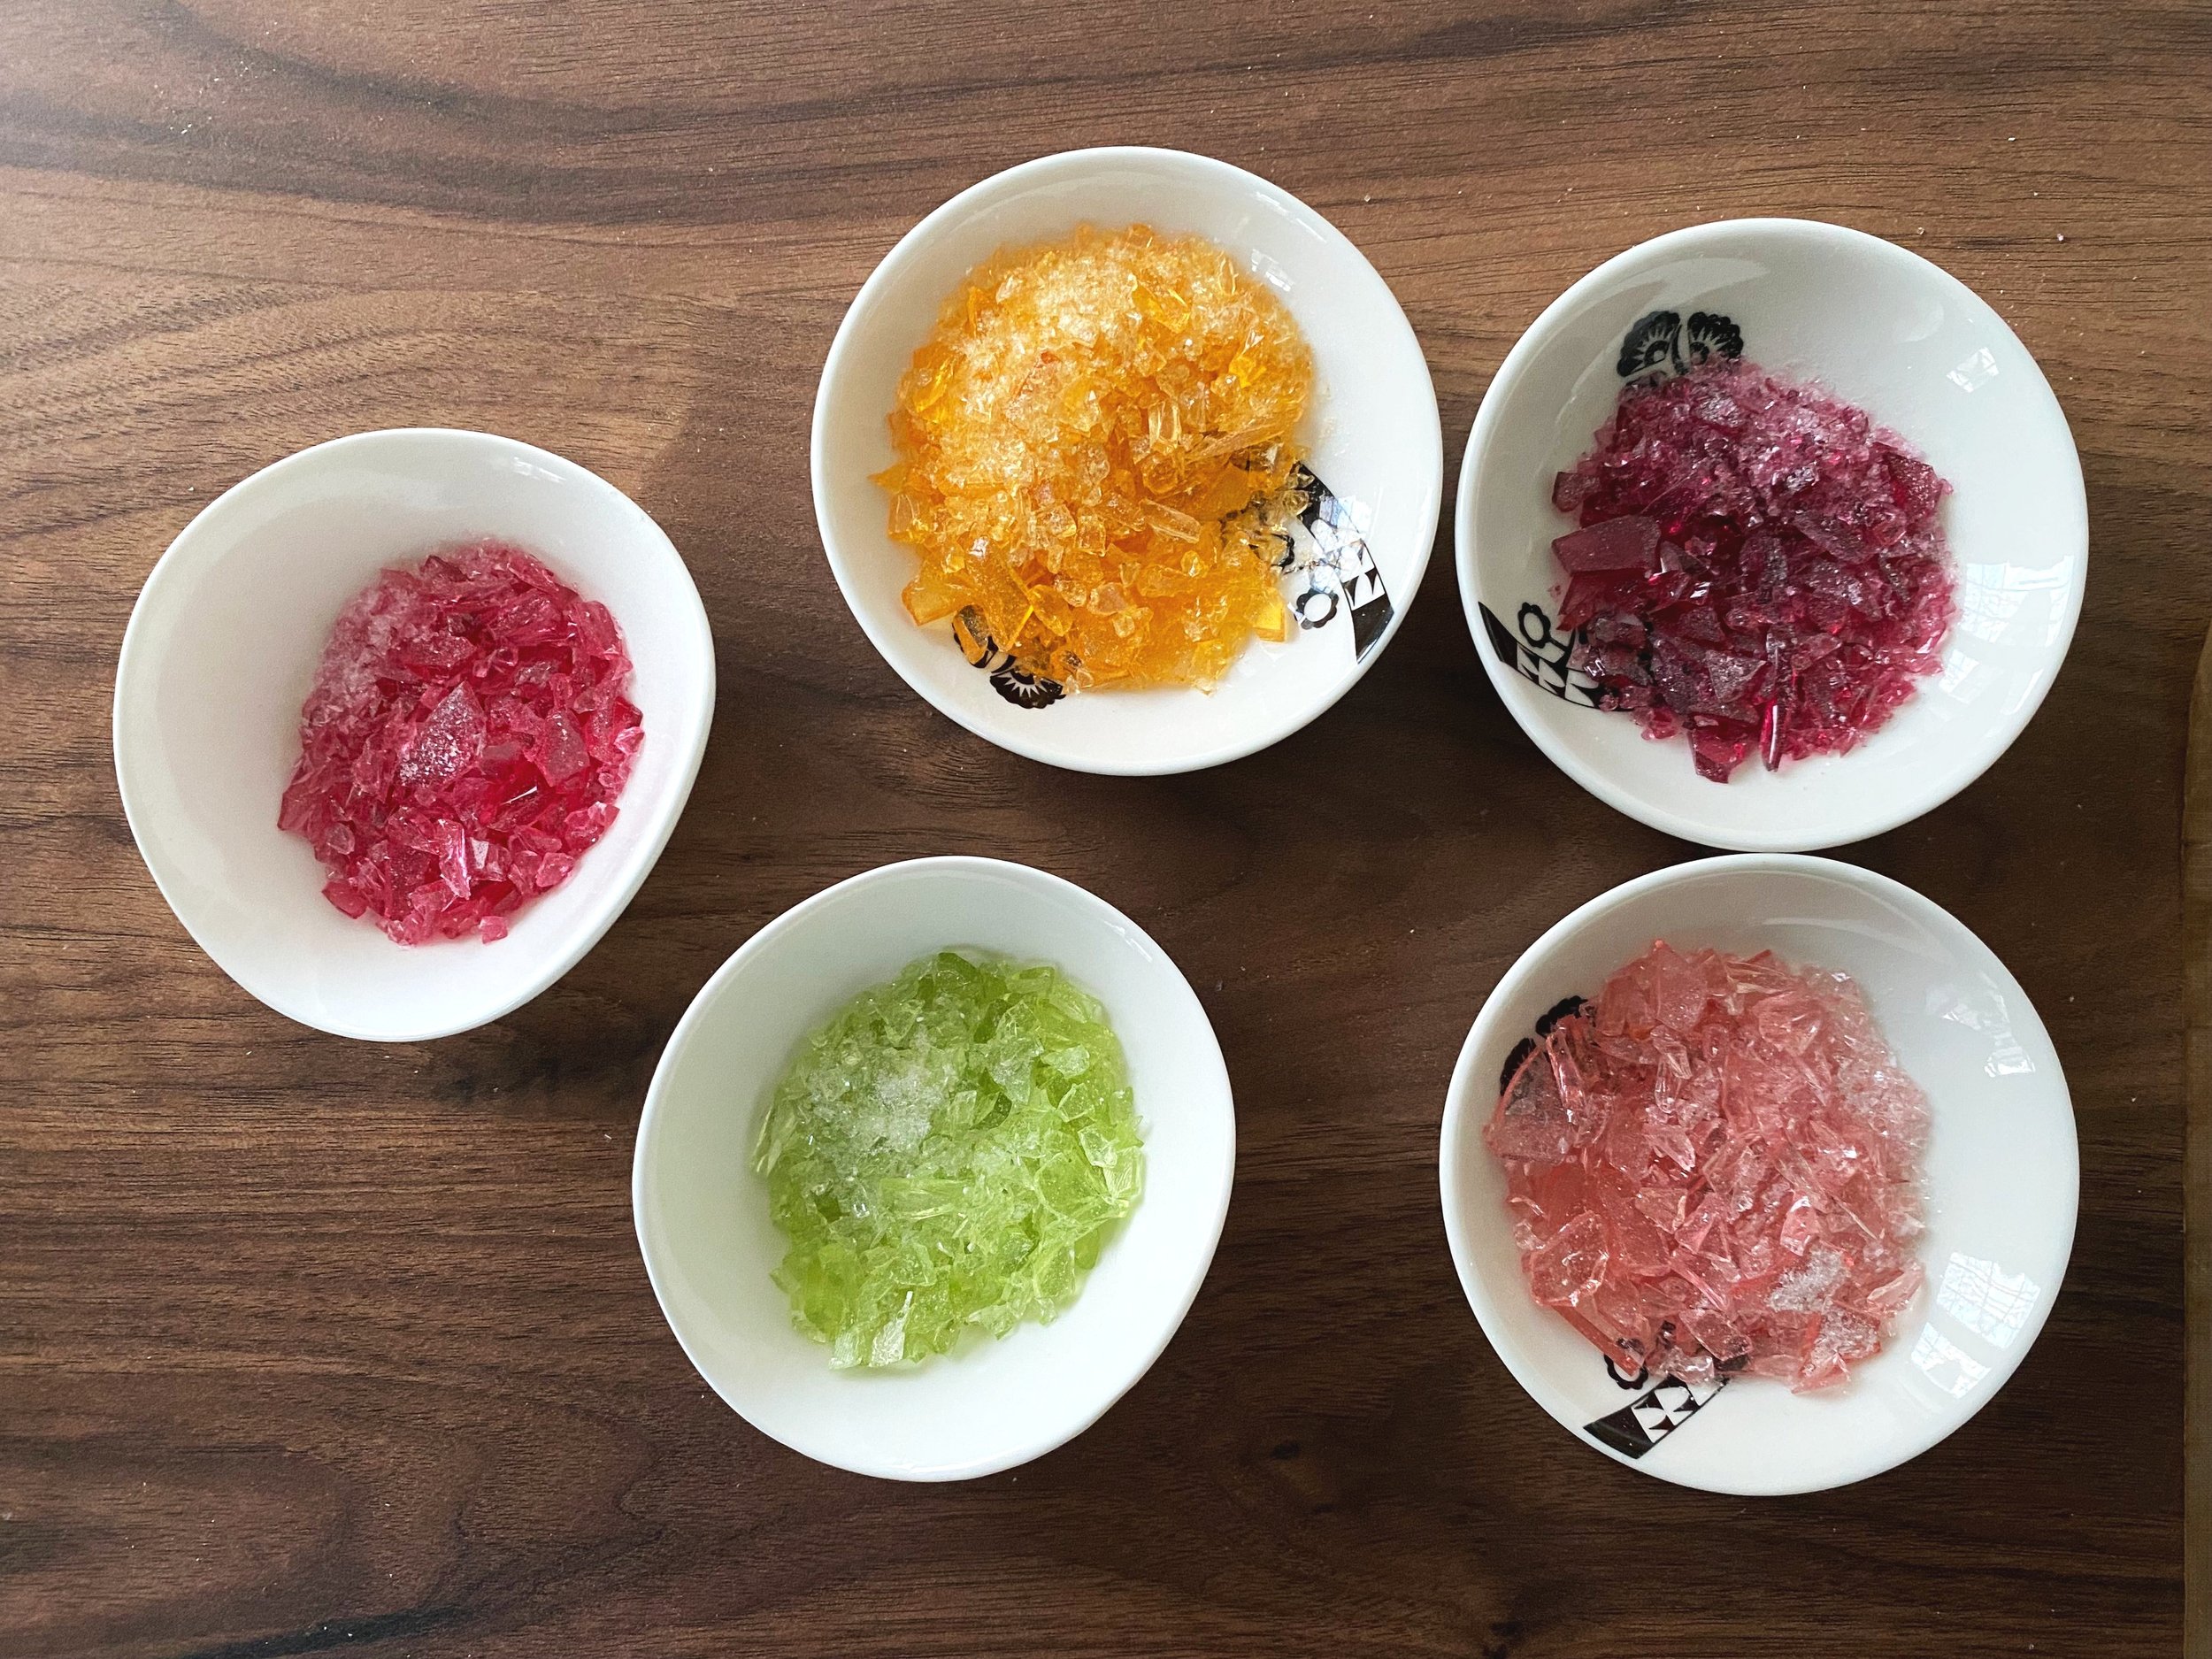
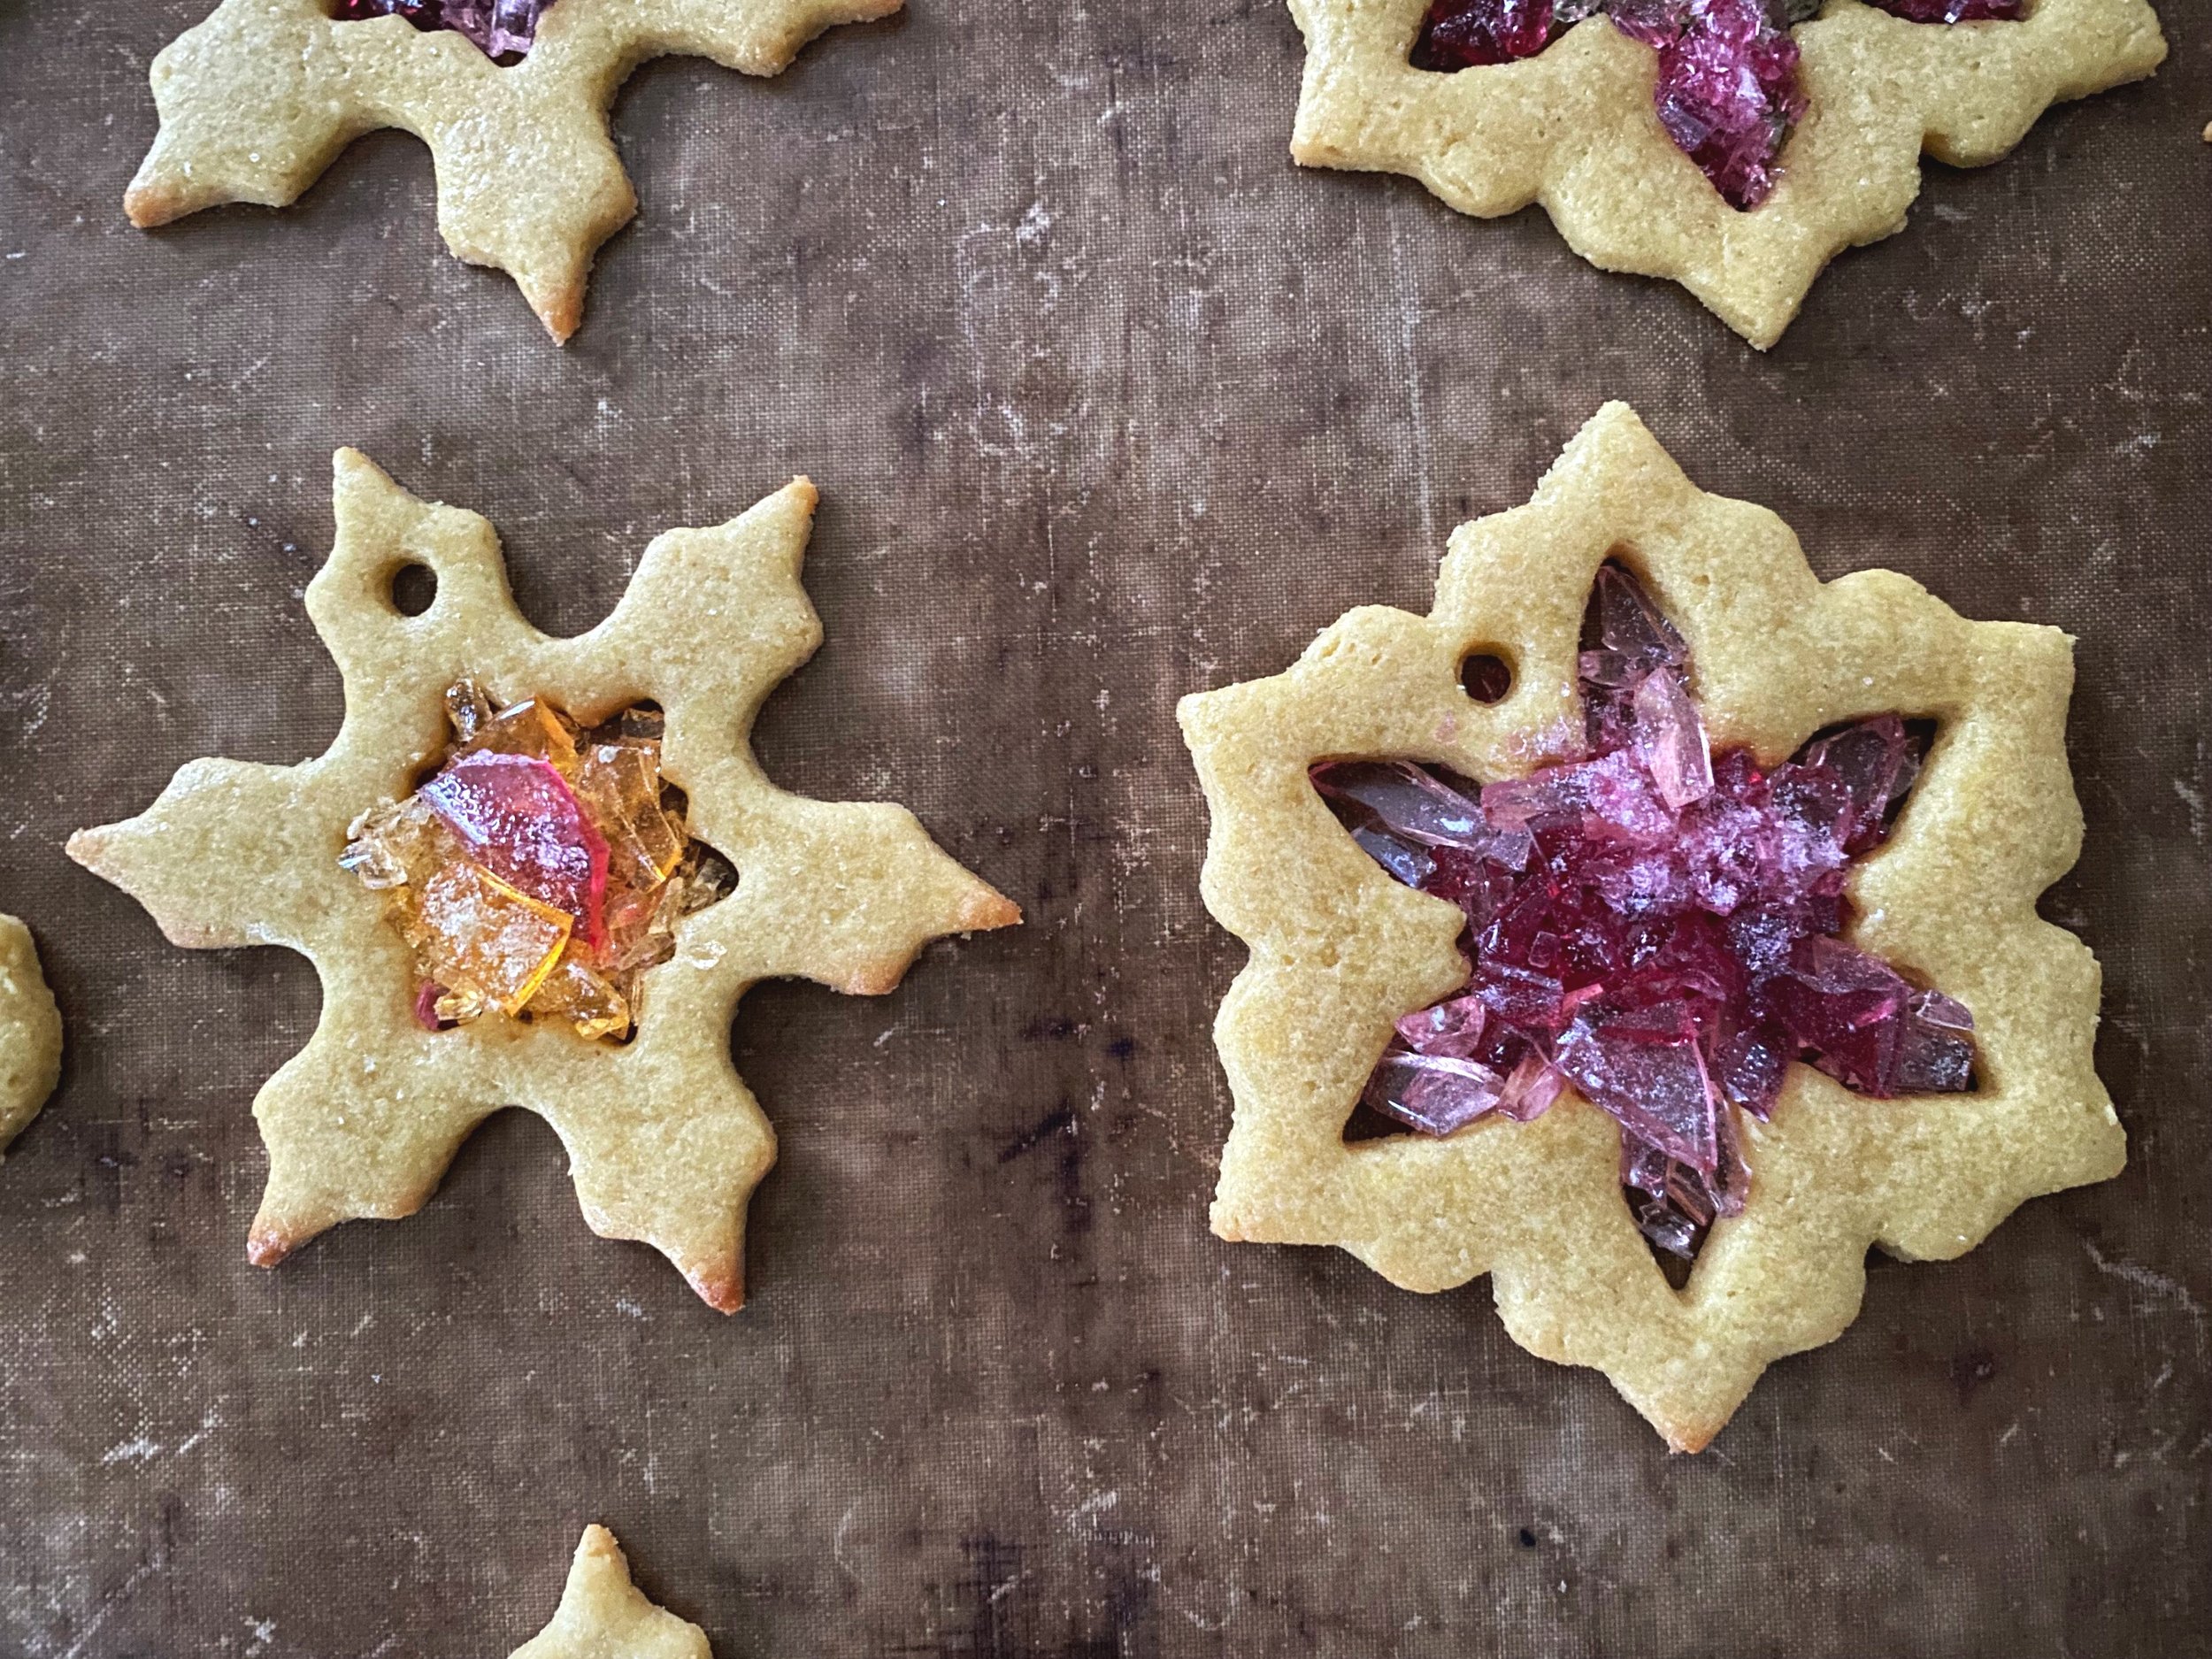
Put the melted sweets into a reusable freezer bag - just do one colour at a time. Bash the sweets with a rolling pin so you have small pieces of sweets. To get the marble effect the sweets should not be powdered too much (see pictures below).
Put the cookies into the oven for around 8 mins until the edges are starting to go golden brown**. Remove from the oven and use a small spoon to add the sweets to the centre of the cookies. Be careful the sweets are not on top of the cookies. You can add multiple colours of the sweets to the cookies, I like to add just two colours.
Put the cookies back in the oven for 5-6 minutes. The sweets will melt but if you keep them in the oven past the melted stage they will bubble. This is how to get the pretty bubbles. Remove them from the oven and allow to cool completely - this is crucial as melted sugar is incredibly hot and will be painful if you touch it.
Once they have completely cooled you can put any thin string or ribbon through the holes. Hang the cookies on your Christmas tree or on a window for maximum effect***.
Tips
*If you substitute the gluten free flours for plain gluten flour you might need to add a bit more milk or flour to achieve the right dough consistency. It should be malleable, like play doh and not too sticky otherwise it will stick to the baking sheets.
**Cookie recipes that are in the oven for a short amount of time need to be on the exact temperature. Most ovens are hotter than they are meant to be so using an oven thermometer is strongly advised. They are very cheap to buy, last a very long time and are useful for multiple recipes.
***Do not hang the cookies in strong direct sunlight.

If you like this recipe this is the course for you - Vegan Chef Diploma
In just 12-26 weeks, you will experience a rapid evolution; you’ll go from keen home cook to knowledgeable, skilled, creative chef, ready to take your first step on the cooking career ladder.